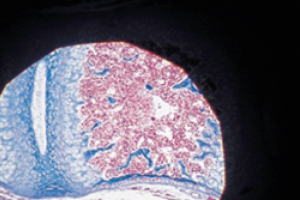
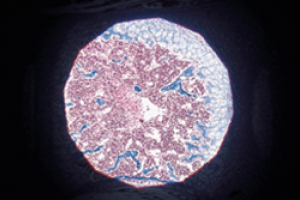
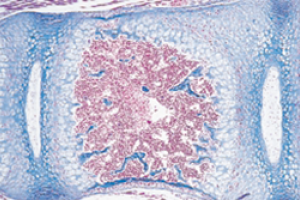
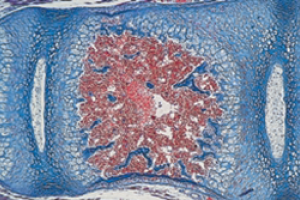
If you want to accurately observe or capture transmitted light images, you will need to establish Kohler illumination each time you change the objective. This ensures the illumination is even and is essential for optimal image quality. This is not necessary for fluorescence images.
This procedure is the same for all microscopes. All the things that need adjusting are below the stage of an upright microscope and above the stage of an inverted microscope. Diagrams of the positions of components are available for an upright Axio imager.
Procedure
- Focus on your specimen using transmitted light.
- Close down the field aperture (field diaphragm), you should see an octagon shaped aperture appear (or if it is really badly out of focus, the entire image will get darker). Close the aperture until it occupies about 2/3 of the field of view
- Focus the condenser with the knobs that raise/lower the entire condenser, the octagon shape should be made as sharp as possible
- Then center the condenser using the two centering pins
- Open the field aperture until it is just out of view (or you could leave it just in view down the eyepieces but illuminating the entire camera area)
- Adjust the condenser aperture so the contrast of the image is good (this will change the brightness of the image so you might need to change the bulb brightness). You can do this empirically or by removing the eyepiece and adjusting so 2/3 of the pupil is filled.


